Cleaning Your Arizer Portable Vaporizer: A Step-by-Step Guide for 2024
Table of Contents
Holy smokes, did you know that a clean vaporizer can increase vapor quality by up to 30%? I sure didn’t when I first got my hands on an Arizer portable vaporizer! But let me tell you, after years of trial and error (and some embarrassingly gunky moments), I’ve become a bit of a cleaning guru.
Now, here’s the kicker – Arizer vaporizers are actually designed to be super low-maintenance. Yep, you heard that right! The clever folks at Arizer have made our lives so much easier, and I’m here to spill all the beans on keeping your vape in tip-top shape.
In this guide, I’ll walk you through why cleaning matters (spoiler: it’s not just about being a neat freak), the few tools you’ll actually need, and a step-by-step process that’ll have your Arizer vaporizer performing like new. Plus, I’ll share some hard-earned wisdom on quick cleans versus deep cleans, and how to troubleshoot those pesky cleaning challenges. So, grab your Arizer and let’s dive in – your taste buds will thank you later!
Why Cleaning Your Arizer Portable Vaporizer Matters
Alright, let’s get real for a second. When I first got my Arizer vaporizer, I thought, “This baby’s gonna stay clean forever!” Oh, how naive I was. While it’s true that Arizer’s unique design keeps the main unit remarkably clean, neglecting the few parts that do need attention can turn your vaping experience from heavenly to “meh” real quick.
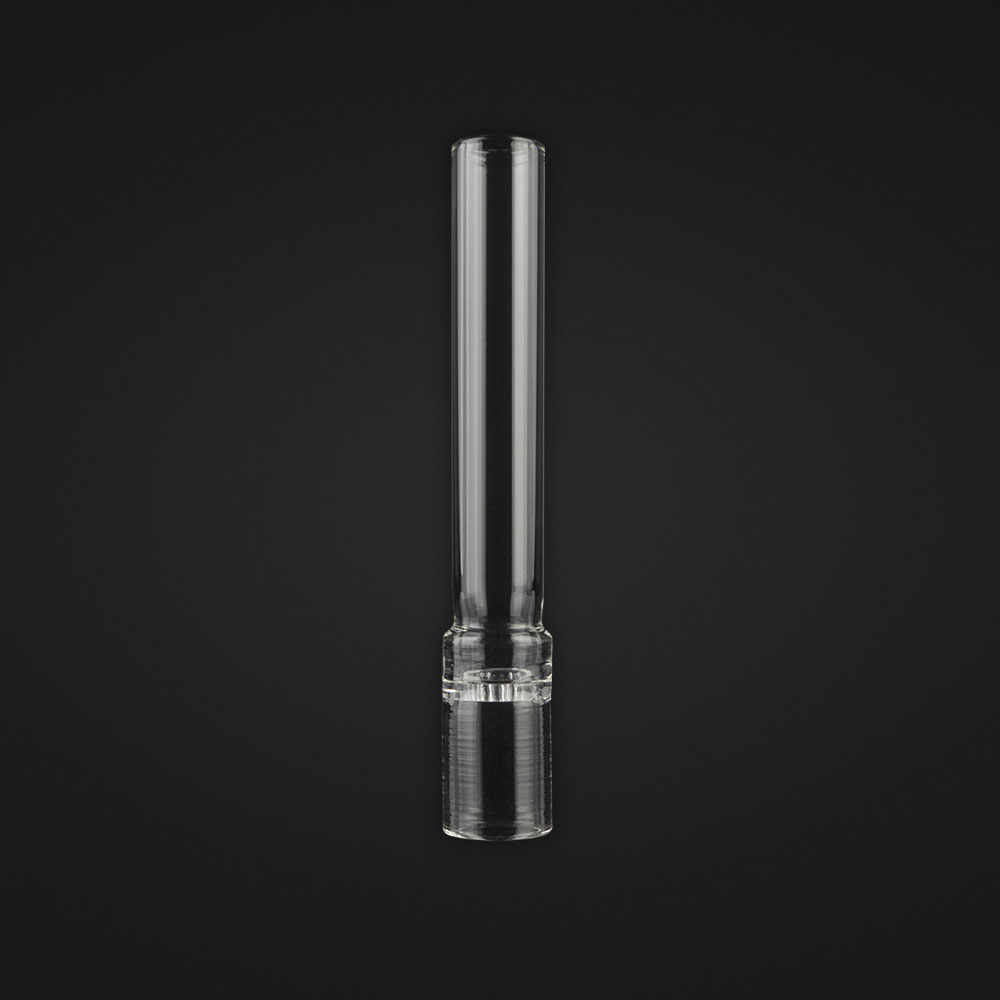
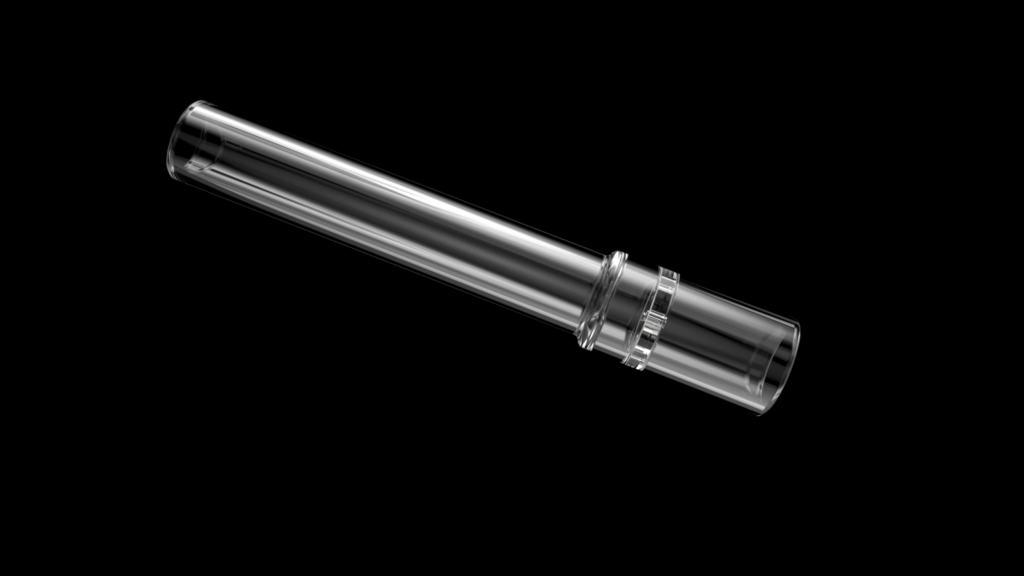
Here’s the deal: Arizer vaporizer design is pretty darn clever. The oven is actually encapsulated in the aroma tube, which means the main heating unit itself stays virtually spotless. But here’s where I messed up – I thought that meant I could skip cleaning altogether. Big mistake!
You see, even though the main unit stays clean, that aroma tube is where the magic happens. And boy, does it collect residue!
After a while, and a lot of build up of residue on the aromate tube I noticed my vapor tasting a bit… off. It was like trying to enjoy a gourmet meal with a burnt tongue. Not cool.
But it’s not just about flavor. A clean vaporizer actually works more efficiently. That means you’re getting more bang for your buck with your herbs. And let’s be honest, that stuff ain’t cheap!
Essential Tools for Cleaning Your Arizer Vaporizer

When I first realized I needed to clean my Arizer vaporizer, I went a little overboard. I bought every cleaning gadget and gizmo I could find. Spoiler alert: most of them are still collecting dust in my drawer. But fear not! I’ve done the trial and error for you, and I’m here to share the true essentials for keeping your Arizer spick and span.
First up, isopropyl alcohol. This stuff is like liquid gold for cleaning vaporizers. I usually go for the 91% or higher concentration. Just be careful not to spill it on your favorite shirt – learn from my mistakes, folks!
Next, you’ll want some cotton swabs and pipe cleaners. These are your secret weapons for getting into those hard-to-reach spots. A soft-bristled bottle brush is another must-have. I use an old makeup brush, but any small, soft brush will do. It’s perfect for gently sweeping out any loose debris from the heating chamber.
Lastly, and this is totally optional, there are specialized cleaning solutions out there. Personally, I stick with isopropyl alcohol most of the time, but if you’re feeling fancy, these can work well too.
Remember, the beauty of Arizer vaporizers is their simplicity. You don’t need a chemistry set to keep them clean – just these few basic tools will do the trick. Now, if only keeping my apartment this clean was as easy!
Remember, the beauty of Arizer vaporizers is their simplicity. You don’t need a chemistry set to keep them clean – just these few basic tools will do the trick. Now, if only keeping my apartment this clean was as easy!
Step-by-Step Cleaning Process for Arizer Portable Vaporizers
Alright, folks, gather ’round! It’s time for the main event – the step-by-step cleaning process. Now, I know what you’re thinking: “Oh great, another complicated cleaning routine.” But hold onto your hats, because cleaning an Arizer vaporizer is easier than teaching my cat to high-five (still working on that one).
Step 1: Disassembly
First things first, let’s take this baby apart. But here’s the kicker – there’s not much to disassemble! Thanks to Arizer’s genius design, the main unit stays clean as a whistle. All you need to focus on is removing the mouthpiece, stem, and any screens or filters. Easy peasy!
Step 2: Cleaning the Mouthpiece and Stems
This is where the magic happens, folks. Your aroma tube (that’s the stem) is where most of the residue builds up. I like to soak mine in isopropyl alcohol for about 30 minutes. If you’re in a hurry, even 10 minutes will do wonders. After soaking, give it a good rinse with warm water and let it air dry. Voila! It’s like having a brand new stem.
Step 3: Maintaining the Heating Chamber
Remember how I said the main unit needs virtually no cleaning? I wasn’t kidding! All you need to do here is turn the vaporizer upside down and give it a gentle tap to knock out any debris that might have snuck into the chamber. If you’re feeling thorough, you can use your soft brush to sweep it out. But honestly? This step takes about 10 seconds.
Step 4: Cleaning or Replacing Screens and Filters
Now, these little guys can get pretty gunky. If they’re not too bad, you can soak them along with your stem. But here’s a pro tip: I like to keep a stash of replacement screens handy. Sometimes it’s just easier to pop in a new one. Your airflow will be stellar, and you’ll feel like a vaping champion.
Step 5: Reassembly
Once everything’s dry, just put it all back together. It’s so simple, I bet you could do it with your eyes closed (but maybe don’t try that).
And there you have it! The whole process usually takes me about 45 minutes, and most of that is just waiting for the stem to soak. It’s the perfect excuse to catch up on your favorite show or, in my case, attempt to teach my cat that high-five again.
Remember, the beauty of Arizer vaporizers is that the oven is encapsulated in the aroma tube. This ingenious design means you’re really just focusing on cleaning that tube. The rest of the unit stays remarkably clean. It’s almost like magic, but it’s just smart engineering!
Quick Clean vs. Deep Clean: When to Do Each
Alright, confession time. When I first got my Arizer vaporizer, I thought cleaning was an all-or-nothing deal. I’d either ignore it completely (not good) or spend hours deep cleaning every nook and cranny (totally unnecessary). But over time, I’ve figured out a balanced approach that keeps my vape happy without driving me crazy.
Let’s start with daily maintenance. This is super simple – after each use, I just tap out any loose debris from the heating chamber. It takes all of 5 seconds, and it prevents build-up over time.
I have 5 or 6 aroma tubes for my Arizer vapes. I don’t do any special cleaning between uses other than empty the aroma tube of the AVB right ater the vapor production drops out. It’s much easier to clean out the aroma tube when the material is warm. Some people exhale through the tube to jettison the used up material. I am a medium heavy vaper and so I’ll have 2 aroma tubes on the go for a few days. Once they get gunked up I put them in a container and pull out 2 more from the container that holds the clean ones.
About once a month, I go all out with a deep clean. This is when I break out the isopropyl alcohol and really get into it. I soak the all of the dirty aroma tubes overnight, give everything a thorough rinse, and make sure it’s all spotless. It sounds like a lot, but remember – we’re really only dealing with the a few aroma tubes here. The main unit of the Arizer stays clean thanks to its clever design.
I used to worry that I wasn’t cleaning often enough, but then I realized – the beauty of Arizer vaporizers is that they’re designed to stay clean. The oven being encapsulated in the aroma tube means you’re not dealing with a gunky mess in the main unit. It’s just the stem that needs your attention.
So, here’s my rule of thumb: store your clean aroma tubes in one container and the dirty ones in another. Deep clean them monthly. Stick to this, and your Arizer will keep pumping out tasty vapor like it’s its job (which, I guess, it kind of is).
Oh, and one last tip – if you’re a heavy user, just do the deep clean every whenever you run out of clean aroma tubes.